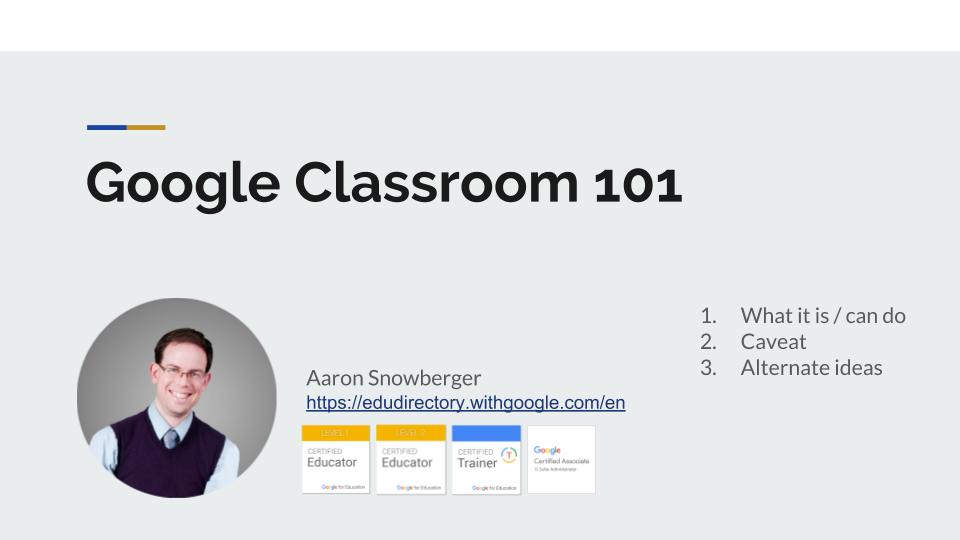
Google Classroom & G Suite for Education Training

This talk provides an overview of what Google Classroom is, how it works, and gives practical tips for how to incorporate Google’s other main product apps (Docs, Sheets, Slides, Drawings, and Forms) into your classroom.

This presentation was given as part of a training seminar at Global Prodigy Academy international high school in Jeonju. It covers the following:

  1. What Google Classroom is & can do
  2. G Suite services that work well with Google Classroom
  3. Caveat for using Google Classroom
  4. Alternate ideas if Google Classroom is not a viable option for your classroom

What Google Classroom can do

Class

Classroom allows you to do the following:

  1. Add Class (+ symbol in the upper-right)
  2. Join class (+ symbol in the upper-right)
    1. by email (Students tab -> Invite Students)
    2. with a code (you can also display this in huge letters on the projector. Go to the Gear wheel -> Class code -> Display)
  3. Create Assignment (now also Reuse Assignment is possible)
    1. Add attachments (files)
    2. Insert videos / links
    3. Schedule the assignment / Save Draft
    4. Groups Assignments within Topics
    5. Give Assignments Due dates
  4. Grading (I personally don’t use this feature, but it’s wonderful for keeping student Assignments organized and in a central location)
Classroom’s Grading feature keeps assignments organized

Assignment Types

Classroom is best used in connection with Google Drive and gives you access to a number of Microsoft-esque products that you can use to create assignments:

  1. “Microsoft”-esque
    1. Docs (like MS Word)
      1. The best tool I introduce to students in Docs is the paragraph styles
    2. Sheets (like MS Excel)
      1. The tools I focus on teaching students in Sheets are the spreadsheet functions and chart creation tools
    3. Slides (like MS PowerPoint)
      1. One great feature to learn in Slides is where to edit the Master Slides (View -> Master)
  2. Non-MS
    1. Drawings (Can be created separately and downloaded as PDFs or image files, or can be inserted into Docs)
    2. Forms (great for giving tests/quizzes – and can also be self-grading if you input answers)
  3. Distribution methods
    1. Students can view (This is best used for things like class Slides and lecture notes that shouldn’t be edited)
    2. Students can edit (Use this to collaborate on a Shared Document or Spreadsheet where each student needs to add their input to the collective – like shared vocab lists)
    3. Student copy (This copies the file and inputs it directly to each Student account while also linking it to the Grading portion of that assignment to keep things organized)
Distribution methods and Lesson Planning

Organize your Lesson Plans

Personally, I use Google Classroom to help me better organize my Lesson Plans and stay focused during the class. Whenever I create a new assignment, I write down notes about the topic, points to cover, or steps to take. Then, while presenting the lesson, I can refer back to my “Lesson Plan” in the Google Classroom Assignment.

Student / Teacher View

There is a difference between the Teacher View and the Student View, so if you want to explore them both, either:

  • login as a student in your class, or
  • add another account (on the SAME Google domain) to your class and explore as both Teacher and Student

Caveat:

Student accounts and Teacher accounts MUST reside within the SAME Google domain in order to work. (i.e. Gmail users can join Gmail user classes and .com users can join .com user classes, but Gmail users CANNOT join .com user classes)
  1. The Teacher View helps you to stay organized with:
    1. Organized assignments / a grading section
    2. Archived classes (from which you can now Reuse Assignments)
    3. Reorder classes (by clicking and dragging them around the screen, you can place them in the order you will teach them during the day)
  2. The Student View is obviously more limited. Students can:
    1. “Open” files – individual files will be contained IN the Assignment at the bottom, under other files and attachments, in a separate box
    2. Submit (“Turn In”) – students will need to “Unsubmit” work if they want to edit it further – once it’s submitted, it’s no longer editable
    3. Quiz multi-submit – students can submit Quizzes more than once if that option is enabled in the Form settings
    4. Edit together – Students can collaborate on shared Docs

Alternate Ideas

Once again, using Google Classroom comes with a Caveat

Student accounts and Teacher accounts MUST reside within the SAME Google domain in order to work. (i.e. Gmail users can join Gmail user classes and .com users can join .com user classes, but Gmail users CANNOT join .com user classes)

However, even if you feel unable to use Google Classroom with your students in your Classroom, you’ll still be able to use it yourself if you have a Gmail account. The following are some suggestions for using Classroom without students joining it.

  1. Personal Organization (Lesson Planning)
  2. Document Use
    1. Docs (Word)
    2. Sheets (Excel)
    3. Slides (PPT)
    4. Drawings (insert)
    5. Forms (tests/quizzes)
  3. Distribution
    1. Share Link
    2. Google Sites

Personal Organization

Using Classroom for your own personal organization of Lesson Plans is still a great idea. You can write out all your lessons, notes about the content, and any links you want to share with the class.

(This is actually how I give many of my presentations on Google – because no students are “joining” the class, but I still want to use Classroom.)

Sharing & Distribution

You’ll still be able to “Share” Google Docs, Sheets, Slides, Drawings, and Forms by clicking the blue Share button in the upper-right corner of any page. You can use Google’s built-in URL shortener, or another one like https://is.gd/ which allows you to customize the link text. Then, write the shortlink on the board to give students access.

Here are some suggestions for how to use and Share each Google Doc type with students who aren’t in your class:

  • Docs: Share test reviews, directions for written assignments, or your syllabus
  • Sheets: Share vocabulary lists, calendars, or schedules
  • Slides: Share your lecture slides, or play PPT games
  • Drawings: Share teacher-created flowcharts and illustrations
  • Forms: You can still share surveys or quizzes and students will be able to do those on their mobile devices. (I’ve used this in large classes of 40 students to quickly “collect” and grade homework.)
  • Sites: And if you want to remove the middleman altogether (the shortened URL you write on the board), create a Google Site and update the assignments and links in there. Then students will only need to know ONE link throughout the semester where they can find all their assignments.

Conclusion

This is only the tip of the iceberg for the kinds of things Google can do for your classroom. Here are two more ways to become a Google Education pro.

  1. Watch FREE video training on ANY Google product
  2. Get Certified!