
Category: Classes
-
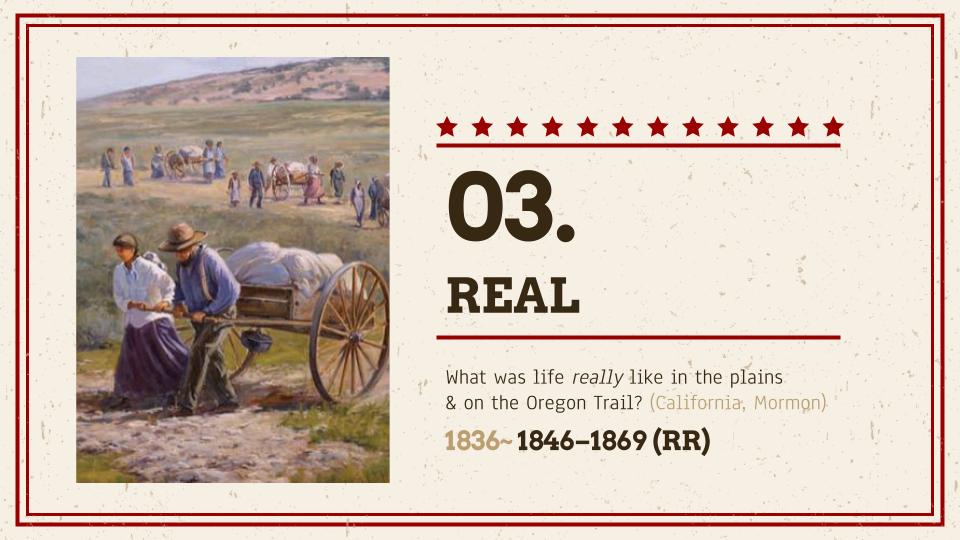
Experience the Oregon Trail
What was life really like in the plains and on the Oregon Trail? This section of the PPT explores some of the real challenges and hardships faced by American pioneers as they journeyed westward. It will use the Oregon Trail game as an example, reference, and model to help better understand the Oregon Trail in…
-
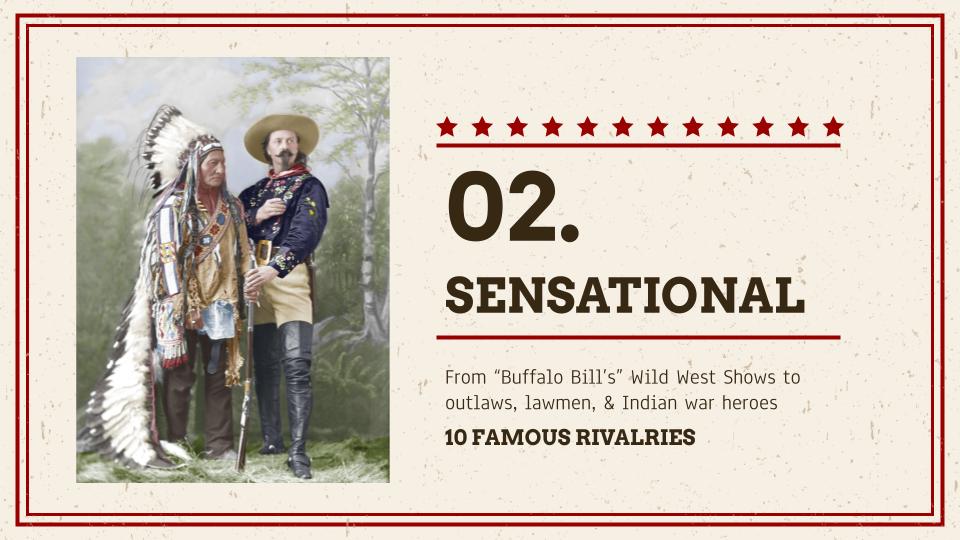
Top 10 Rivalries of the American Old West
The American Old West is probably most well known for stories of “cowboys vs. Indians” or “outlaws vs. lawmen.” While many stories are true, much of what we think of when we think of the Old West has been sensationalized to the point of legend. This section will include cowboys, Indians, outlaws, and lawmen, but…
-
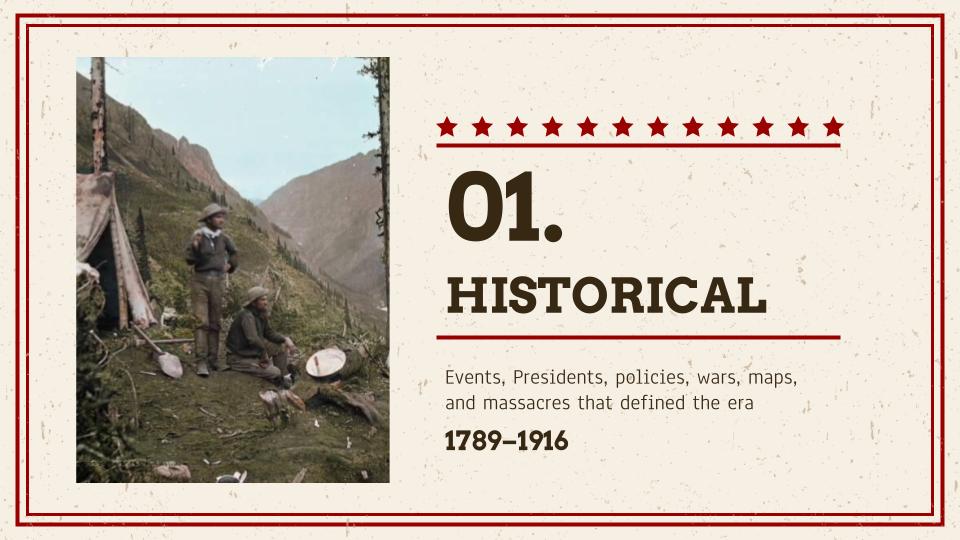
Historic American Old West
This section of the PPT focuses on the historic Old West. It is broken into three major sections and a total of eight subsections. Each subsection includes between five to eight major events that defined the era. It covers nearly 50 total events. My goal here is to just give a brief overview of the…
-
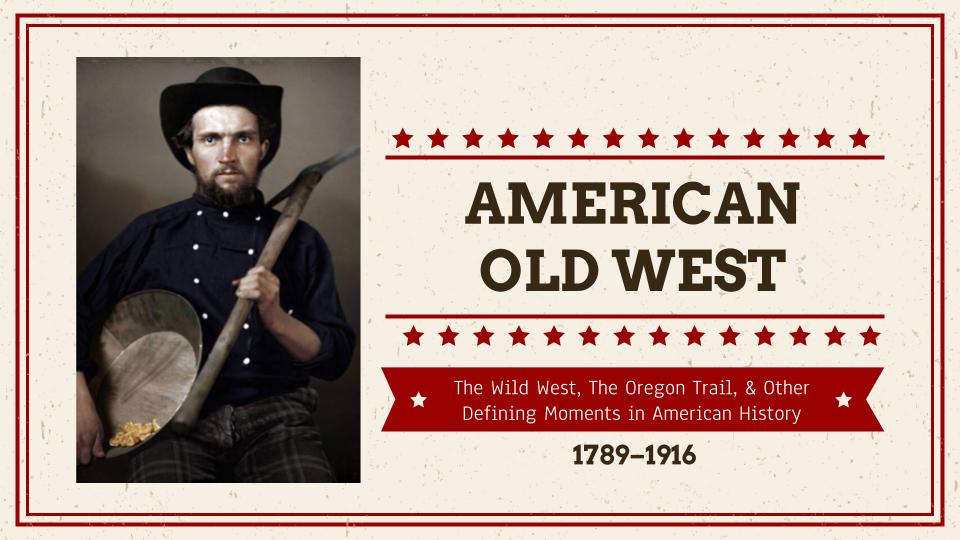
The American Old West (1789-1916)
After nearly two weeks of 6-8 hour days, scouring Wikipedia and other historical websites and blogs, I feel like I’ve retaken my high school American History class, but this time with greater insights into what happened during that period of time.
-

Teacher Training Tech Tips
This presentation was for the Teacher Training program at Jeonju University. With this presentation, I coupled together (and updated) a few of my most well-used presentations for the program, including a PPT on Internet Security, the previous Teacher Tech Tips, and an overview of some of the technology options we had for things to study…
-
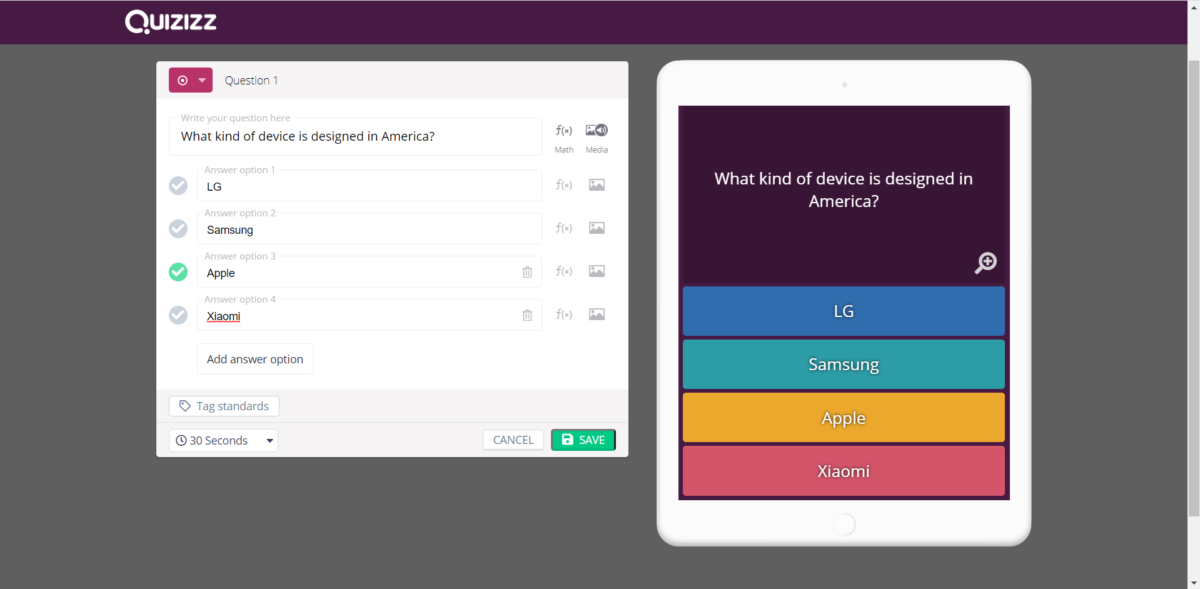
Using Quizizz in the Classroom
Quizizz is an app and website that is quite similar to Kahoot with a few interesting additions. Like Kahoot, a user can create a series of questions to ask a group of people who compete to answer them correctly and speedily. Scores are determined according to whoever answers correctly first. Quizizz, unlike Kahoot, adds some…
-
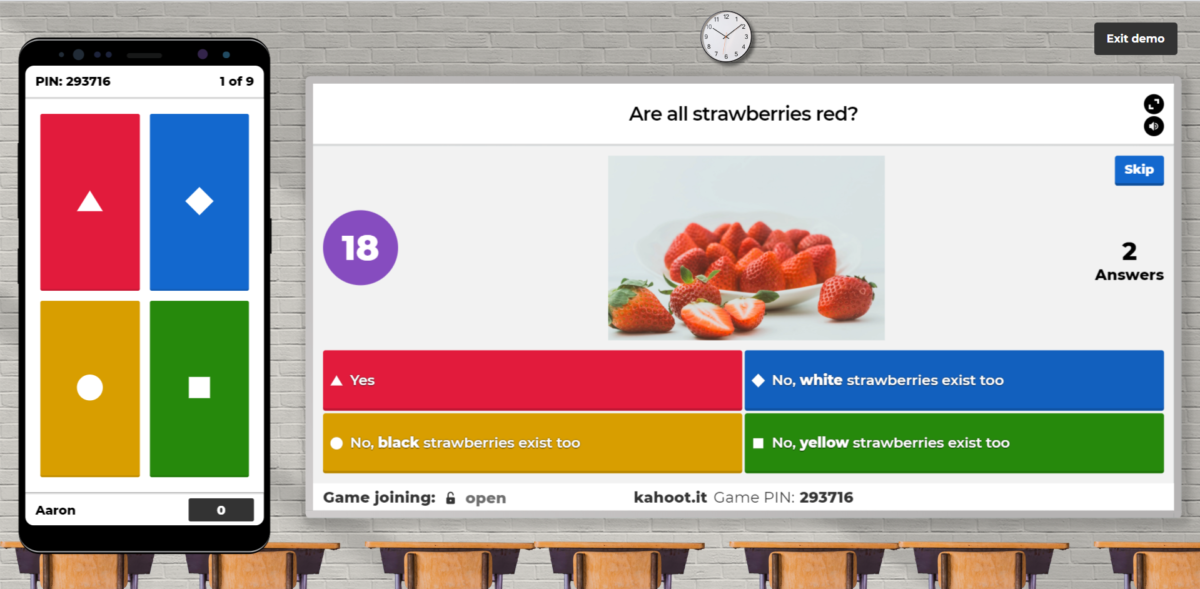
Using Kahoot in the Classroom
Kahoot is an interesting app and website that allows one user to create a series of questions to ask a group of people who compete to answer them correctly and speedily. Scores are determined according to whoever answers correctly first (points are allocated in decreasing amounts to second place, third place, and so on). Uses…