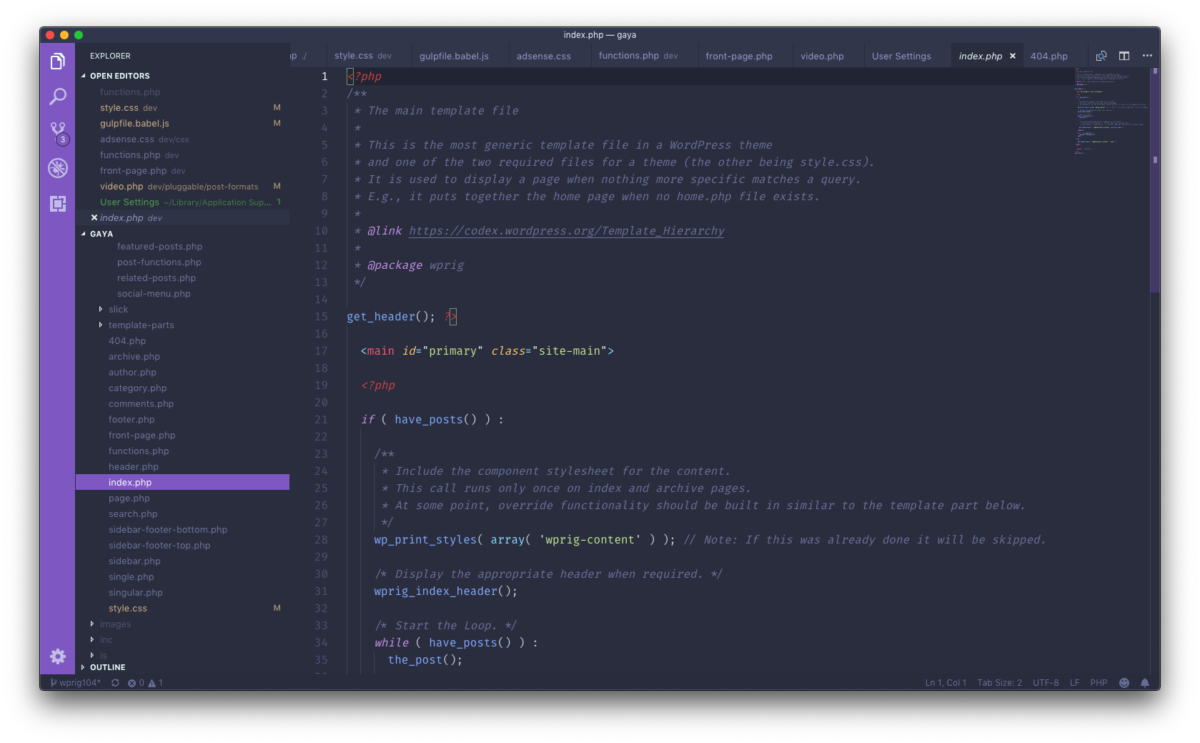
Personalize VS Code

I’ve really been enjoying VS Code for development these days. Here are some of the things I’ve done to customize my new favorite code editor.

While I’ve used (and enjoyed) a number of different coding environments and IDEs in the past (NetBeans, Atom, Brackets, Notepad++), these days, I’m really enjoying VS Code. The following is a list of what I’ve done to customize my WordPress development environment.

1. Customizing Visual Studio Code

Extensions (CTRL + SHIFT + X)

  1. Beautify
  2. Debugger for Chrome
  3. EditorConfig
  4. ES6 String HTML
  5. ESLint
  6. Express
  7. GitLens
  8. HTML CSS Support
  9. IntelliSense for CSS
  10. Live Server
  11. Markdown All in One
  12. PHP Debug
  13. PHP DocBlocker
  14. PHP IntelliSense
  15. PHP Server
  16. PHP Code Sniffer
  17. Prettier – Code formatter
  18. REST Client
  19. Sass
  20. Settings Sync (special note: Use this Extension to sync your Settings across multiple machines once you’ve got things the way you like)
  21. SVN
  22. Terminal

Snippets

  1. HTML Snippets
  2. JavaScript (ES6) code snippets
  3. jQuery code snippets
  4. React-Native/React/Redux snippets for ES6/ES7 Standard

Themes

  1. Atom One Dark Theme
  2. Fresh Material
  3. Material Icon Theme
  4. Material Theme
  5. Palenight Theme
  6. One Dark Pro
  7. One Monokai Theme
  8. VS Code Icons

Settings (CTRL + Comma)

Most of these Settings can be found and edited within the Settings interface of VS Code. But to do workbench.colorCustomizations, you’ll need to edit the JSON of your settings. So, it’s easiest to simply Search for that in the search bar, then copy-paste the following into the JSON Settings.

{ 
"editor.fontFamily": "'Noto Mono', 'Fira Code', Hack",
"editor.fontSize": 16,
"editor.fontLigatures": true,
"editor.formatOnPaste": true,
"editor.tabSize": 2,
"workbench.iconTheme": "material-icon-theme",
"files.autoSave": "onWindowChange",
"workbench.colorTheme": "Palenight Italic",
"workbench.colorCustomizations": {
"terminal.background": "#1F2330",
"activityBar.background": "#7e57c2"
},
}

Fonts

My preferred Settings above require some additional fonts. Here they are:

  1. Fira Code
  2. Noto Mono
  3. Hack

Resources

For more tips on using VS Code, check out the following video lessons.

  1. VS Code Power User by Ahmad Awais
  2. Learning Visual Studio Code by Reynald Adolphe on LinkedIn
  3. Visual Studio Code for Web Developers by Joe Marini on LinkedIn

Git & WP-CLI on Windows

This short tutorial will help you get ready for WordPress development by setting up a localhost development environment with git and wp-cli on Windows.

The following tutorial / notes are for setting up a new localhost development environment in Windows.

1. Setup your Localhost Environment

  1. Download the Bitnami WordPress installer
  2. Follow onscreen instructions and Install!

That’s it~

I put my development environment in the D:/ drive

D:/Bitnami/WordPress

2. Prepare for git with VS Code

Gitbash (git for Windows) wants a default text editor – and while you could choose Nano or VIM or Notepad++, why not go with the (NEW!) option and get yourself a really great code editor while you’re at it~

  1. Download the Visual Studio Code installer
  2. Follow onscreen instructions and Install!

Learn about customizing Visual Studio Code for WordPress development.

3. Setup git with Gitbash

  1. Download the Gitbash installer
  2. Follow onscreen instructions and Install!
    1. Note: In the “Adjusting your PATH environment” screen, click “Use Git from the Windows Command Prompt”

4. Setup WP-CLI in Windows

Take a look at this walkthrough. I followed the steps outlined within it and made a few notes about the process for my particular setup.

  1. Download the wp-cli.phar file (right-click and “Save As…”)
  2. Create a new folder within your Windows user’s folder to hold all our executable files
    1. Create C:\Users\user\bin (where “user” is your Windows username)
    2. This is the ~\bin folder where ~\ indicates the user’s home directory
  3. In Visual Studio Code, create a wp.bat file with the following content:
@ECHO OFF
SET BIN_TARGET=%~dp0/./wp-cli.phar
php "%BIN_TARGET%" %*

This will execute the wp-cli.phar command from your command line (after doing a little more setup work).

  1. But, if you’re using Gitbash, Windows won’t recognize .bat files and their commands, so we need to create a separate file called wp (no file extension).
  2. In Visual Studio Code, you may get an error if you try to create and save a file with no extension, so just call it wp.sh for now.
  3. Later, in Windows Explorer you can remove the .sh.
  4. Paste in the following lines:
#!/usr/bin/env sh

dir=$(d=${0%[/\\]*}; cd "$d"; pwd)

# See if we are running in Cygwin by checking for cygpath program
if command -v 'cygpath' >/dev/null 2>&1; then
# Cygwin paths start with /cygdrive/ which will break windows PHP,
# so we need to translate the dir path to windows format. However
# we could be using cygwin PHP which does not require this, so we
# test if the path to PHP starts with /cygdrive/ rather than /usr/bin
if [[ $(which php) == /cygdrive/* ]]; then
dir=$(cygpath -m $dir);
fi
fi

dir=$(echo $dir | sed 's/ /\ /g')
"${dir}/wp-cli.phar" "$@"

So the previous step (wp.bat) makes wp-cli available from the Windows Command Line, and this step (wp.sh) makes wp-cli available from Gitbash.

5. Add php and wp-cli to the PATH

Now, we have to make sure Windows adds both php and wp-cli to the PATH so we can use them.

  1. Open up the Windows Control Panel → System (or right-click “My Computer” on the Desktop and click “Properties”)
  2. Click “Advanced system settings” in the left sidebar
  3. Click “Environment Variables…” in the popup
  4. Click “PATH” from the list and then “Edit…”
  5. Now add the full path to your executable files. In my case:
    1. PHP: D:\Bitnami\WordPress\php
    2. WP-CLI: C:\Users\user\bin
  6. Now, “Sign Out” of your Windows account and Log back in to be sure Windows loads the new PATH variables
  7. You can confirm both php and wp-cli are working by trying out a few different commands in Gitbash or the Command Prompt:
    1. php -i
    2. which php
    3. php -V
    4. wp
    5. wp plugin install hello-dolly (from inside your Bitnami/WordPress/htdocs/wp-content/plugins folder)

Great! Now you can use git and wp from the command line in Windows! Happy coding!~

Downloads

  1. Bitnami WordPress installer
  2. VS Code
  3. Gitbash
  4. wp-cli.phar file