
Hi, I’m Aaron Snowberger.
I currently lecture in computers at Korean universities, but my real passion is blending intuitive design with intelligent code.
We recognize the role architecture plays in shaping a sustainable future.
Code
The backbone of technology, the web, apps, and all software benefits from clean, safe, and well documented code. Open source is the cherry on top.
Data
Big data provides insights into problems and situations we could only previously wonder at. Big data soars with innovative analysis and visual representations.
Design
Functionality cannot overcome poor UX/UI. Clean, intuitive, user-friendly, and functional design is imperative.
Education
Just keep learning. Never miss an opportunity to learn something new. Never overlook an opportunity to pass on what you’ve learned.
This is some of my best work.
From Best Ph.D. Thesis Award, to Valedictorian in my Master’s program, discover some of what makes my efforts stand out.
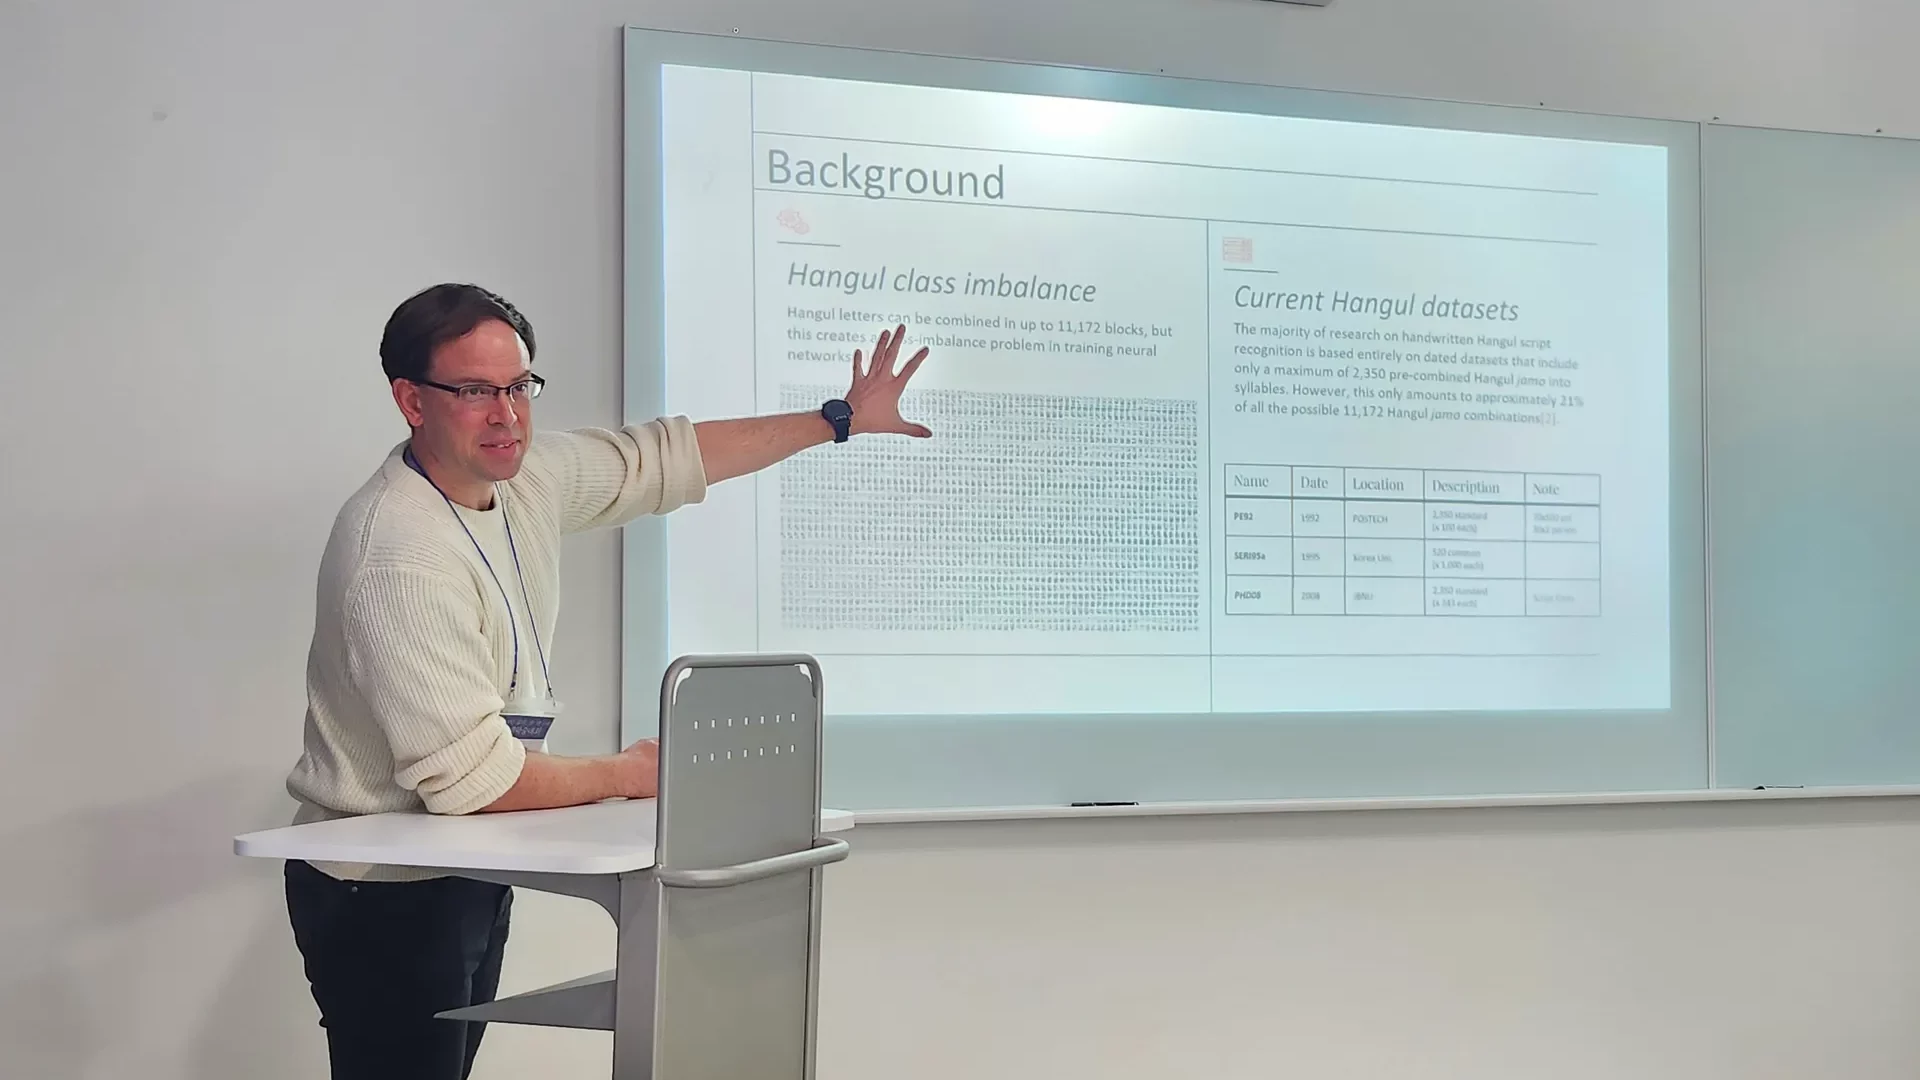
Research and Publications
My primary research focuses on handwriting recognition and computer science education. The following is a short list of topics my research addresses:
- Manchu script & Hangul handwriting.
- The use of GitHub & its tools for CS education.
- Various other ML/DL architectures and datasets.

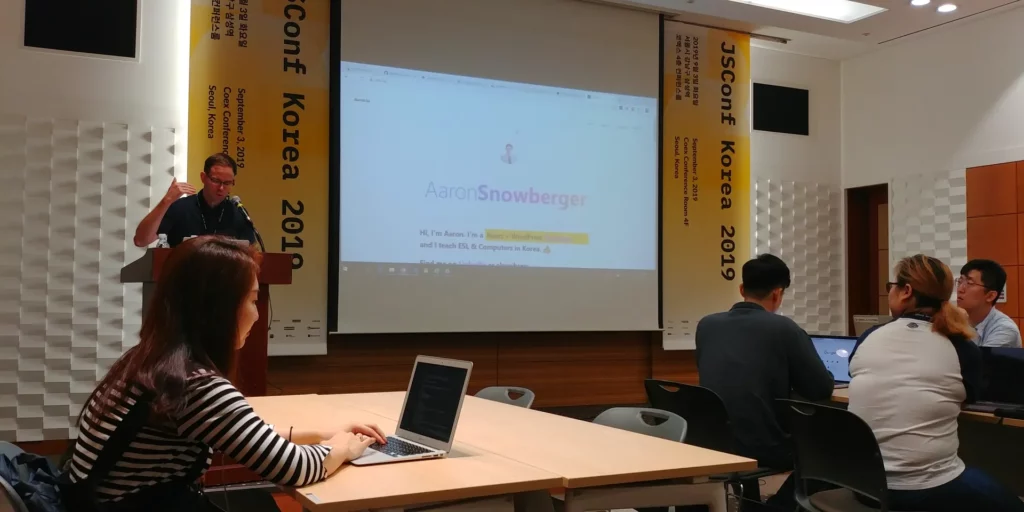
Teaching and Mentorship
I have a passion for making visually pleasing, informative, and interesting presentations. I enjoy breaking down complex topics in ways that are easy for even non-native English speakers to easily comprehend and enjoy.
Creative Work
I was the Jeollabuk-do Center for International Affairs (JBCIA) English magazine designer for 5 years from 2018-2022. Here’s as sample of my most recent work. Apart from that, I also freelanced in branding and the web.
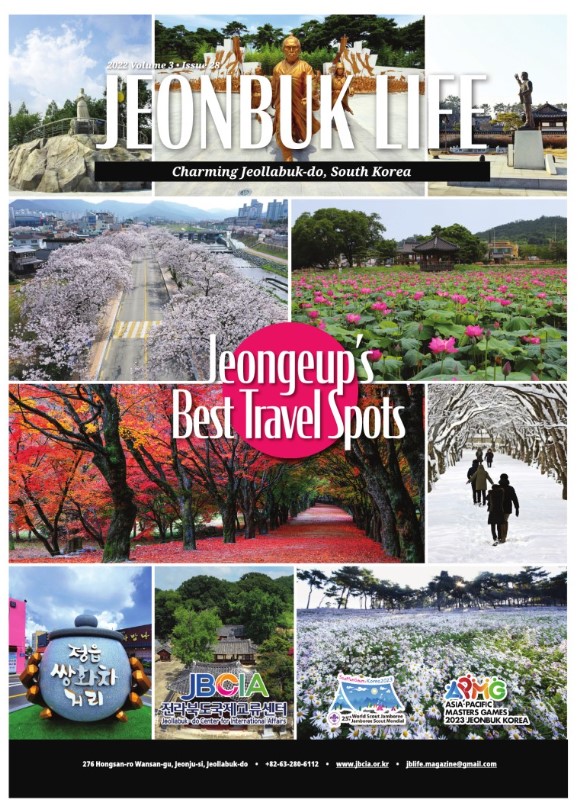
2022 JB Life! Vol. 3
Jeongeup’s Best Travel Spots
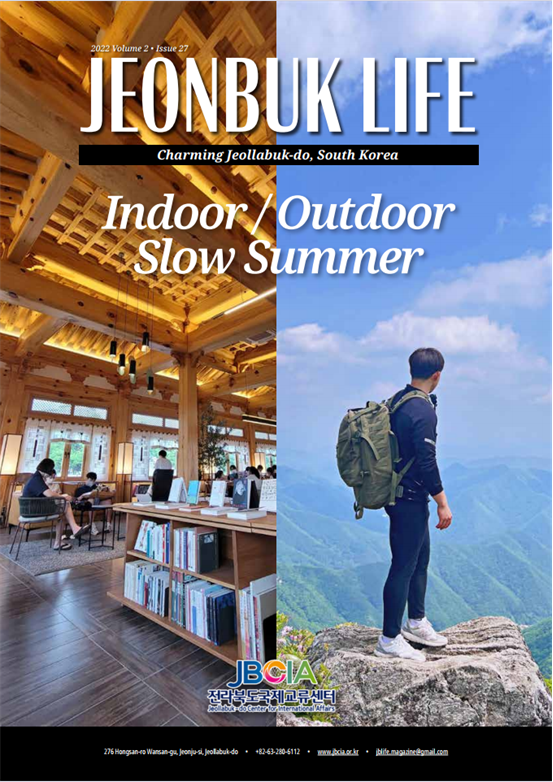
2022 JB Life! Vol. 2
Indoor / Outdoor Slow Summer
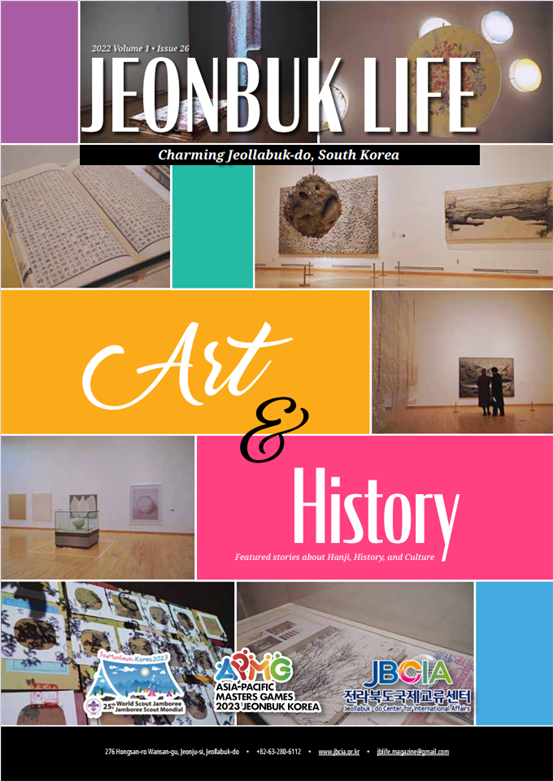
2022 JB Life! Vol. 1
Art & History
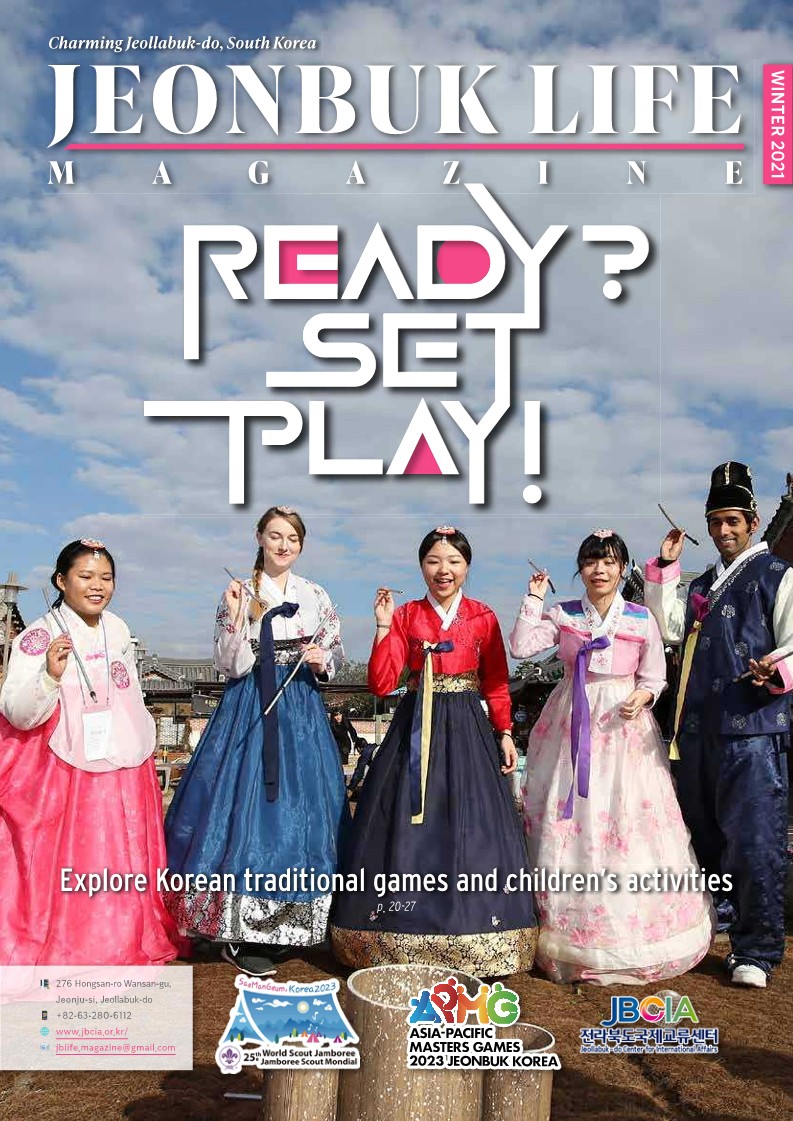
2021 JB Life! Winter
Traditional Korean Games
Études is not confined to the past—we are passionate about the cutting edge designs shaping our world today.
Big Sky Country
From Big Sky Country to Land of the Morning Calm.

What’s Caught Your Interest?
These are the things that have caught my interest.
Health (건강)

Health is the foundation of life. Physical health is the soil, mental health the water and light, and spiritual health the seed of a life of human flourishing.
Code & AI (코드와 인공지능)
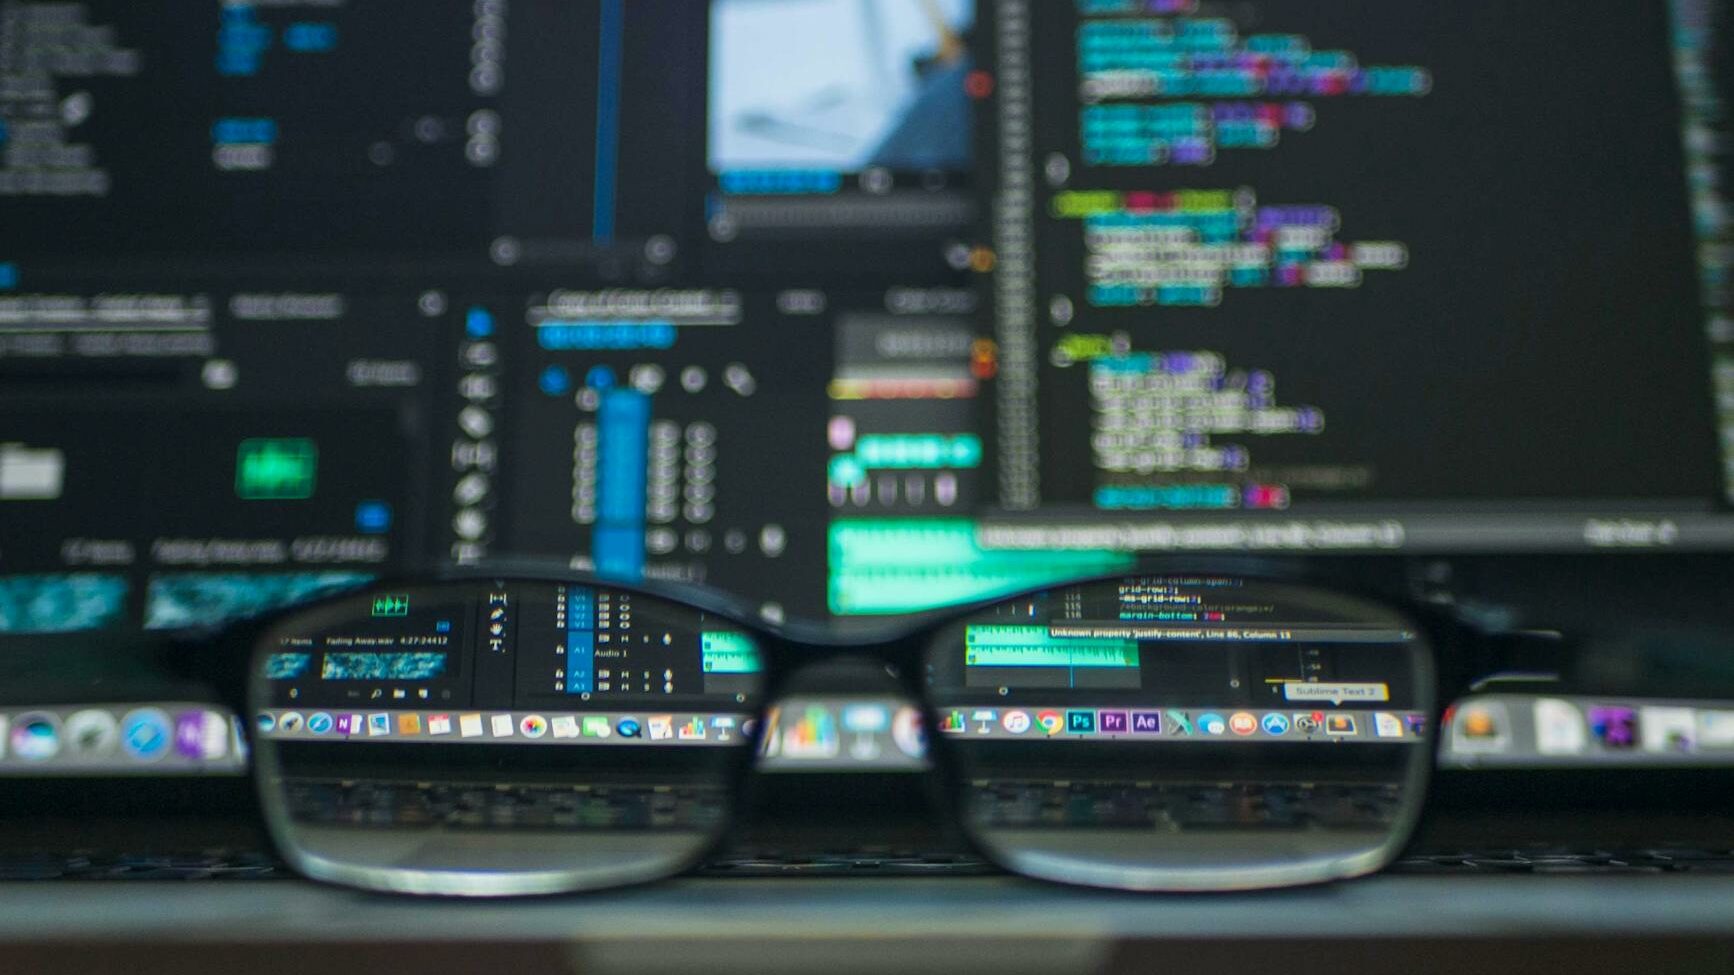
The backbone of technology, the web, apps, and all software benefits from clean, safe, and well documented code. Open source is the cherry on top.
Design (디자인)
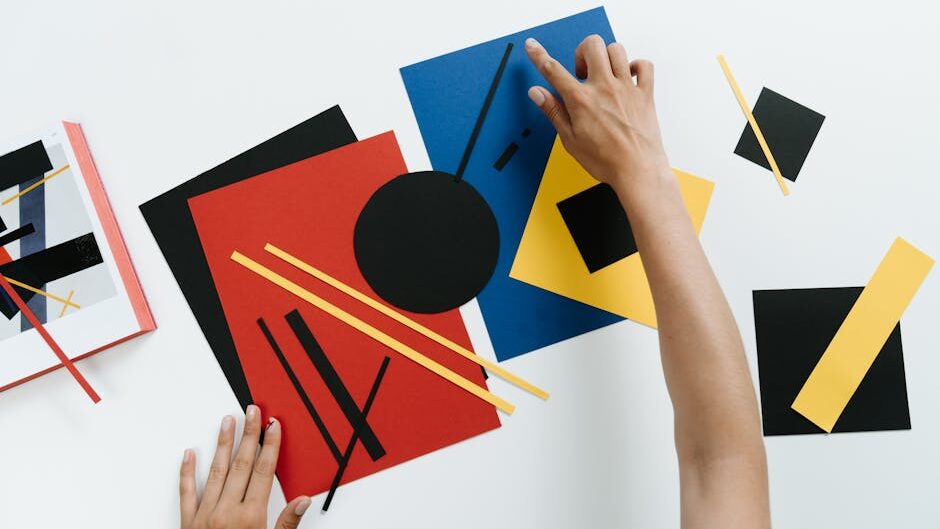
Functionality cannot overcome poor UX/UI. Clean, intuitive, user-friendly, and functional design is imperative.
Korea (한국)
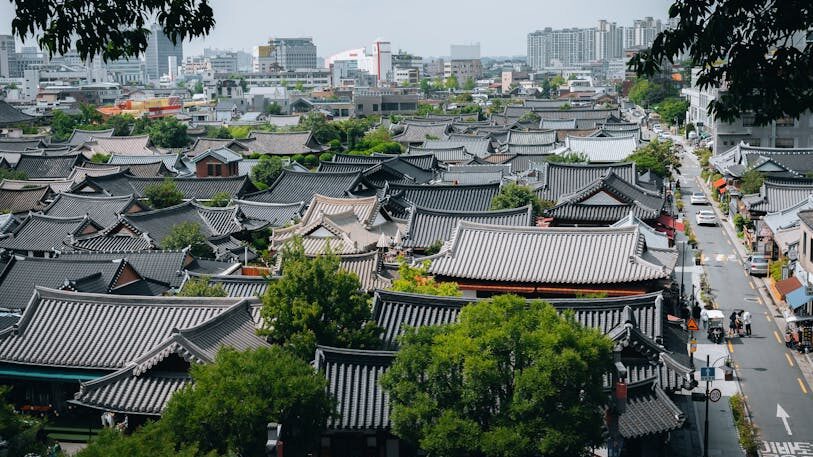
Korea is a dynamic and flourishing society where traditional and modern are blended to form a unique fusion of life.
Data (데이터)

Big data provides insights into problems and situations we could only previously wonder at. Big data soars with innovative analysis and visual representations.
Education (교육)

Just keep learning. If you aren’t continually growing, you’re falling behind. Never miss an opportunity to learn something new. Never overlook an opportunity to pass on what you’ve learned.
What I’m Working On
Discover my philosophy for work and link out to view my major projects.
Classes
- Project-based learning.
- GitHub Classroom assignments.
- Live coding classroom practice.

Design
- Clean, organized, colorful.
- Intuitive UX; intelligent UI.
- Exploring new tools & techniques on every project.
Research
- Practical, applicable, real-world research.
- Regular publications with fresh ideas.
- Begin with the Big Picture; explore the depths.

“Études has saved us thousands of hours of work and has unlocked insights we never thought possible.”
Annie Steiner
CEO, Greenprint
Watch, Read, Listen
Join 900+ subscribers
Stay in the loop with everything you need to know.