A Roadmap for WordPress as LMS
This talk was presented at the KOTESOL National Conference in Seoul on May 30, 2015. With this presentation, I tried to reduce the amount of theory (from my last LMS talk) and increase the amount of practical application steps that teachers could use to begin creating their own LMS websites with WordPress.
This slideshow is accompanied by my own “WordPress as LMS Roadmap” paper that gives step-by-step advice and instructions for building a (basic) WordPress LMS.
Although in the talk, I highlighted the major selling points for using WordPress as an LMS, I’ll refer you to my previous LMS talk titled “WordPress as LMS (Learning Management System)” for more information on WHY you might choose WordPress over the other available options. For the remainder of this post, however, I’ll focus on the practical steps involved in building your own class website in WordPress.
The Roadmap
Review: The 6 Things an LMS Needs to Do
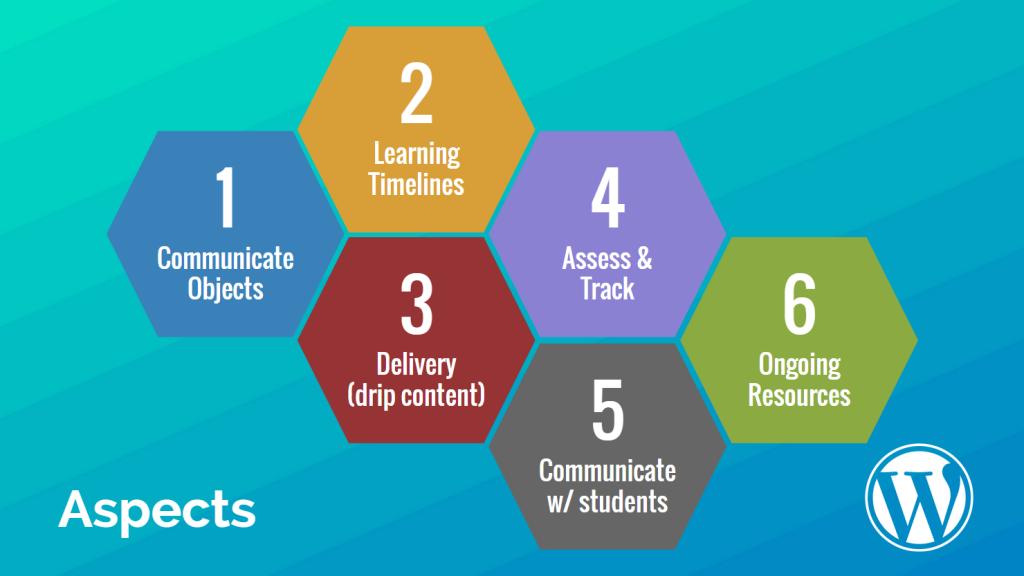
- Communicate Objects (Courses, Lessons, Modules)
- Show Learning Timelines (Syllabus)
- Deliver Content (Dripped content = content that is only accessible at specified times)
- Assess & Track Student Progress (Quizzes, Tests, Attendance, Participation, Gradebook)
- Communicate with Students (Comments, Forums, Wikis, Chat)
- Provide Ongoing Resources (in some sort of library or collection)
Step 0: Get a website
You basically have 2 options: FREE or PAID and both have their upsides and downsides:
- FREE Advantages and Disadvantages
- (+) It’s FREE
- (-) Themes, plugins, and design options are limited. Plus, your URL will be either yourclass.wordpress.com or yourclass.edublogs.org – you won’t own your own .com
- PAID Advantages and Disadvantages
- (+) You can choose what to pay for and how much you’re willing to spend. You can buy your own yourclass.com URL, and can basically make any theme, plugin, and design choices you want
- (-) You pay for it. Some highly specialized themes, plugins, or features are sold separately
If you want a completely FREE site, you can still build a very functional classroom website in WordPress. I used a totally FREE installation of WordPress for the first 2 years of my LMS.
The remainder of this post will focus on creating a FREE WordPress LMS, although I will highlight some of the paid options you may wish to consider.
FREE Hosting Options
- Go to http://www.wordpress.com and sign up for a FREE account (you can upgrade later)
- Go to http://www.edublogs.org and sign up for a FREE account (you can upgrade later)
PAID Hosting Options
I’ve used Dreamhost.com since 2009 and have hosted dozens of personal and client websites there. You can manage every aspect of web hosting from there including:
- Setup Step 1: Buying your URL Domain name
- Setup Step 2: Installing WordPress with a One-Click Installer
- Setup Step 3: Setting up email inboxes @yourclass.com
- Support: Dreamhost also has a large Wiki for support for its services and
- Support: They have a very helpful support staff and are active on Twitter
If you want to go with Dreamhost, I can offer 2 months of FREE hosting on a year plan if you sign up with this link AND enter the code WPMUJJ as a discount code when you sign up.
Step 1: Communicate Objects (Posts)
After getting setup with a WordPress website and logging into the backend, you have the option to customize your Theme (design), add Plugins (extra functionality), or play with any of your other Settings. It’s probably a good idea to at least familiarize yourself with the WordPress backend menu.
Additionally, you should get to know “The First FIVE Components of WordPress to Understand When You’re Just Starting Out” (click link to view the full description of each). In brief, they are:
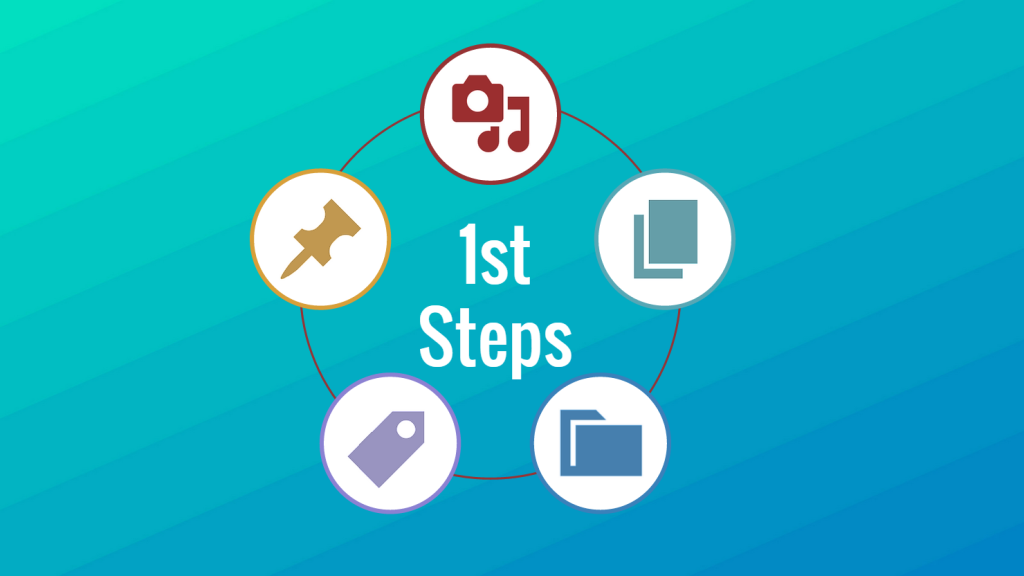
- Pages
- Posts
- Categories
- Tags
- Media
In your LMS class site, you can use each like this:
- Pages = semester-long use (static) – use for Class homepages, Syllabus pages, About pages, Resource pages
- Posts = daily use (chronological) – use for Class lessons, Homework assignments, or Reviews
- Categories = folders – assign each Class a separate folder to store all Class materials within it
- Tags = keywords – tag Posts with grammar points, topics, or subject content to allow easy searching and linking of related Posts later
- Media = upload your PPTs, PDFs, DOCs, Images, Videos, or other content here – and don’t forget that WordPress also does a GREAT job of supporting native embeds from sites like Twitter and YouTube. Click this link for a complete list of all the filetypes and embeds WordPress supports
Step-by-Step
- Gather your teaching materials and content
- Create a NEW Post for every Lesson
- Type (or copy-paste) your Lesson into the Editor and give it a Title
- Upload class materials and media
- Assign a Category using the Name of the Class (
Freshmen Conversation 1B, for example) - Add Tags based on the subject matter (
be verb, introductions, conjugation rules, etc) - Schedule the Post (if you want it to be available later, not immediately)
- Publish the Post
Plugins that may be helpful
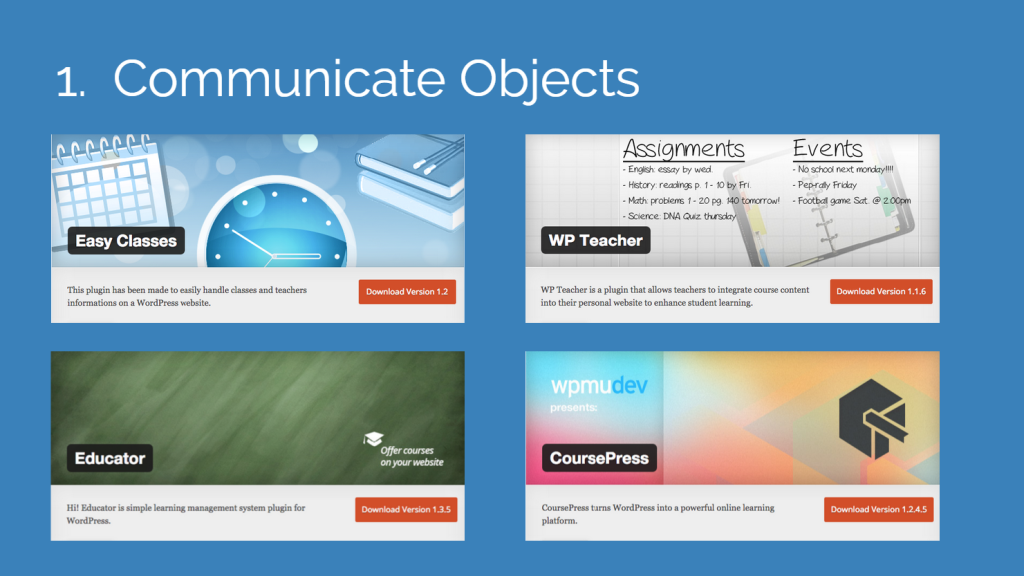
- Easy Classes
- WP Teacher
- WP Course Manager (like a course catalog)
- EduHack (creates a course catalog showing relationships between courses and prerequisites)
- Educator (LMS)
- CoursePress (LMS)
Step 2: Learning Timelines (Pages)
After publishing a handful of Posts/Lessons (or possibly before), you may want to create a Class PAGE specifically for containing the Syllabus, Lesson Plans, and Links to those Lessons. The best way to do this is to create a WordPress Page.
Pages are unique in WordPress in that they DO NOT have Categories nor Tags. However, they are hierarchical, so you could create a Freshmen Conversation Page that has multiple “children” like the list below indicates:
- Freshmen Conversation
- Freshmen Conversation 1A
- Freshmen Conversation 1B
- Freshmen Tues/Thurs
- Freshmen Student Center Class
If you use “Pretty Permalinks” (go to Settings -> Permalinks in the WordPress sidebar menu) URLs of each Page will follow after their “parent” Page like so:
- myclass.com/freshmen-conversation/
- myclass.com/freshmen-conversation/freshmen-conversation-1a/
- myclass.com/freshmen-conversation/freshmen-conversation-1b/
- myclass.com/freshmen-conversation/freshmen-tues-thurs/
- myclass.com/freshmen-conversation/freshmen-student-center-class/
Therefore, you could simplify your Class Page names under the “parent” Page to only include the section number, date, or location of the class if you want (of course, you could also modify the URL by changing the “slug” under the Title of any Page as well).
Step-by-Step
- Create a Page for each Class
- Optionally create one “Category” main Page and Sub-Pages for each Class under that
- Copy-paste in your syllabus OR type it up in an unordered list OR table (using a plugin)
- Link each Post/Lesson from your Class Category to its syllabus item
- OR simply link the entire Class Category to the top of the Page (when students click the main link, it’ll take them to the Category Page which will show a chronological listing of each Post in their Class from most recent to latest)
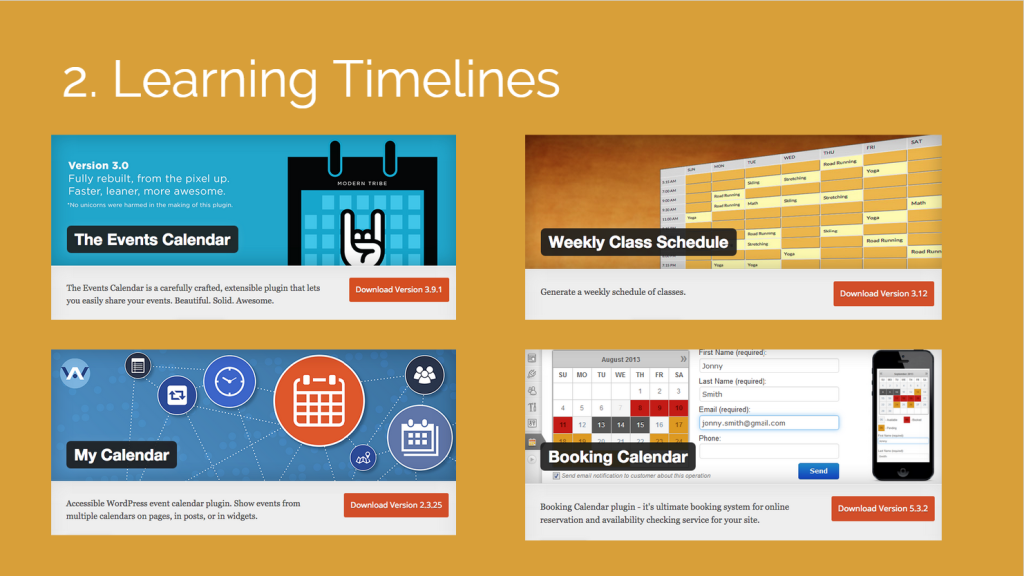
Plugins that may be helpful
- Easy Table (can be used directly in the Post/Page Editor with the syntax required)
- TablePress (has its own interface, slightly more complicated and versatile)
- Websimon Tables (similar to TablePress with its own interface)
- The Events Calendar
- Weekly Class Schedule
- My Calendar
- Booking Calendar (allow students to schedule a meeting with you through your site)
- Online Lesson Booking (schedule a 1:1 lesson or meeting)
Step 3: Deliver Content (Scheduled Posts)
“Drip Content” is a term that means “sequential delivery of content.” This basically means that students don’t (or should not) have access to later Lessons before they complete (or are taught) previous Lessons.
This is very useful in fully automated online Learning Management Systems where a course creator simply sets up the system that unlocks later Lessons as users progress through and complete the Lessons in order. There are a number of good plugins to help you accomplish this.
However, for a simpler system – and one in which the teacher is a more active participant as the course progresses, the simplest method for “dripped content” is simply creating and Scheduling each Lesson/Post for the date that Lesson is to be taught or made accessible (this is akin to simply writing a new Lesson and Publishing it every Monday, for example).
Step-by-Step
- Write a Post (Lesson) for you Class
- Assign it a Category (Class folder) and add Tags (topics / keywords)
- Change the “Publish On” date in the Publish Meta Box
- “Schedule” your Post
Plugins that may be helpful
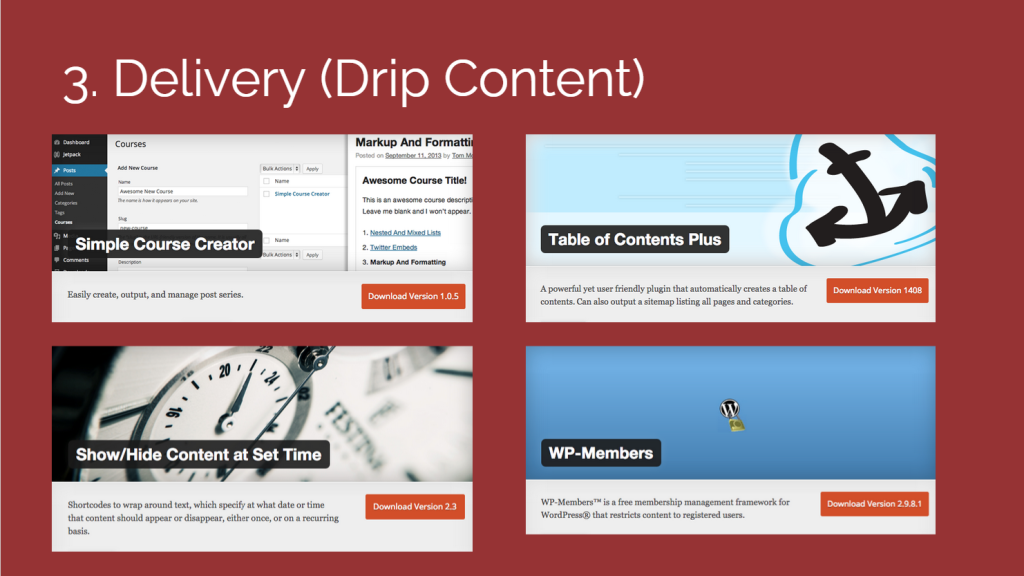
- Show/Hide Content at Set Time
- Timed Content
- Table of Contents Plus
- Simple Course Creator
- Simple Course Creator – Updates (shows updated course content in a timeline)
- WP-Members
- Search the Plugin Directory for “Drip Content” or “Show Hide Content”
Step 4: Assess & Track Students (Comments / Authors)
There are numerous ways you can track and assess student work in WordPress. Two of the easiest you can set up with no additional plugins are:
- WordPress Comments on Class Posts
- Giving students a username and login as an “Author” on your Class site where they can write their own Posts (as essays) which you then edit and approve before they go “Live” on the site
Step-by-Step
Add Authors
- Register new Users on your site by going to the Users -> Add New menu item
- Assign student roles as “Author” and register them
- In recent versions of WordPress, self-registration seems to be disabled, although there are some plugins available that will allow students to register themselves (see below)
- Allow students to login and write essays (Posts) in their Class Category – under a Sub-Category of your choice
- Edit their work and Publish it – you can write comments in the Post itself or in a Comment below it
- Optionally, don’t Edit the Post yourself, but just leave Comments and assign the student the work of coming back in and fixing their mistakes
Take Comments
- Go in to the Settings -> Discussion menu to adjust Comment settings appropriately
- “Allow people to post comments on new articles”
- “Comment author must fill out name and email”
- “Comment author must have a previously approved comment”
- Assign students the homework of reading a Class Post and Commenting on it
- Additionally, when I was in grad school, I was assigned not only my original Comment about the article, but 3 “Reply” Comments to other students in the class. This is a good way to get a Discussion going.
Grading Student Work
Personally, without installing any additional plugins into WordPress, I have previously just kept records of student work in Excel spreadsheets or Google Sheets (they’re better for calculating numbers on the fly). However, there are a number of plugins available for grading, quizzes, and other things that you may want to try (see below).
Plugins that may be helpful

- Add Multiple Users
- AN_Gradebook
- Grading System Daxxip (VERY simple – just assign a grade and make it visible on a Post)
- Watu Quiz Tool
- Quiz Tool Lite
- Easy Quiz Player
- Exam Matrix
- BadgeOS (Give badges for achievements)
Step 5: Communicate with Students (Comments / Plugins)
One thing that WordPress makes exceptionally easy is communication between people. Whether this is using a Commenting system (as discussed above) or Plugins that add extra Social Networking style features, WordPress is has many powerful tools available to customize communication.
Step-by-Step
- Enable Comments on your site (discussed above)
- Add Plugins that enhance both your Comments and other forms of communication
- Enhance your Comments
- Add a Contact form
- Add Polls or Surveys
- Add Forums, Wikis, or Chats
- Add a Social Network plugin
Plugins that may be helpful
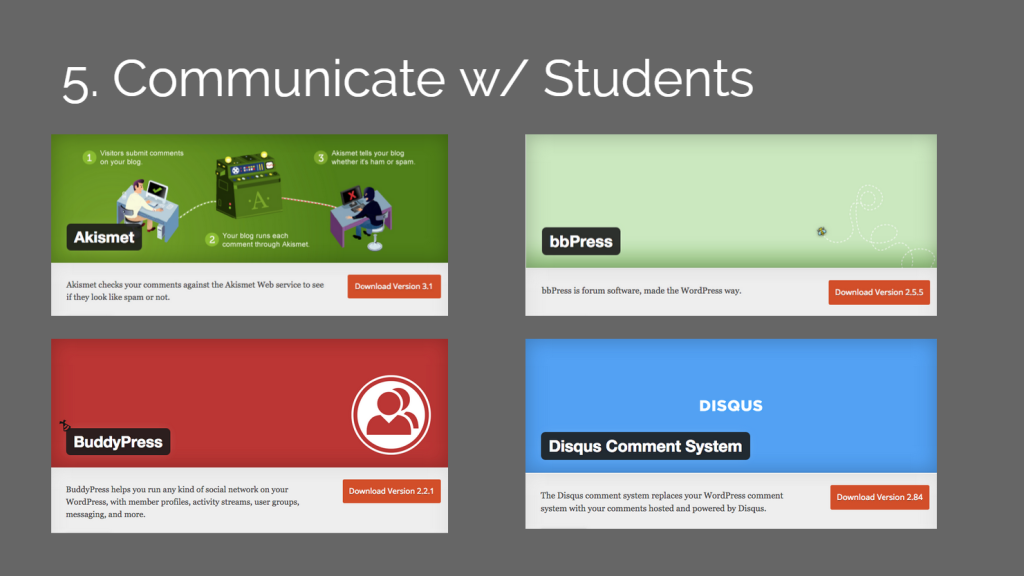
- Akismet (the #1 spam comment blocking plugin in the world)
- Disqus (enhanced Comments)
- Contact Form 7 (one of the most popular contact form plugins in the world)
- PollDaddy (available on WordPress.com already)
- Polls by OpinionStage
- WP Survey and Quiz Tool
- Survey by POWr
- Wiki by WPMU Dev
- Chat by WPMU Dev
- Pure Chat – Free Live Chat Plugin
- iFlyChat – WordPress Chat (allow users to discuss in public and private chat rooms)
- bbPress (Official WordPress forum plugin)
- BuddyPress (Official WordPress Social Network building plugin)
- BuddyPress Docs (add collaborative work spaces to BuddyPress)
- BadgeOS Community Add-on (add badges to bbPress and BuddyPress)
- BadgeOS Invite Codes Add-on (allow users on BuddyPress to join specified groups with an Invite code)
Step 6: Ongoing Resources
Finally, it is important to keep an organized space for resources and references for your classes. The easiest way to do this is to create a dedicated Resources Page that you continually update as new resources are found or added.
Your WordPress Media Library houses everything you upload to your site (in chronological order) so it can get rather messy after a while. However, there are a few ways you can help yourself keep things organized in the Media Library:
- Be sure to NAME your resources appropriately so that they are easy to Search for in the Search box
- Install a plugin to help with organization (see below)
Another option for creating a list of Resources that are simply links to various other locations online is to create a Blogroll (list of other blogs) on a page or in a Sidebar Widget.
Step-by-Step
- Appropriately name/label every file you upload
- Create a Page called “Class Resources”
- You might also create Sub-Pages for each Class like “Freshman 1A Resources”
- OR if there will be much overlap, simply divide your Main Page with different Headings for each class
- Update your “Class Resources” Page as you find/upload new material
- Create a Custom Menu called “Blogroll” or “External Resources” or something
- Add links to external sites in this Menu
- Add the Menu to a Sidebar Widget (or possibly a Page – you might need a plugin)
- Add a Plugin to help you manage everything
Plugins that may be helpful

- Enhanced Media Library (allows you to Tag your Media Library files and categorize them)
- Media Library Assistant
- Eazy Enable Blogroll (brings back the original WordPress default Blogroll)
- Open Link (outputs Blogroll links to a Page or Post using a shortcode)
- Encyclopedia / Glossary / Wiki
- Wiki by WPMU Dev
- Xili-Dictionary (Multilingual dictionary)
- Google Drive WP Media
- Google Drive Embedder
- BackWPup Free – WordPress Backup Plugin (backups are important)
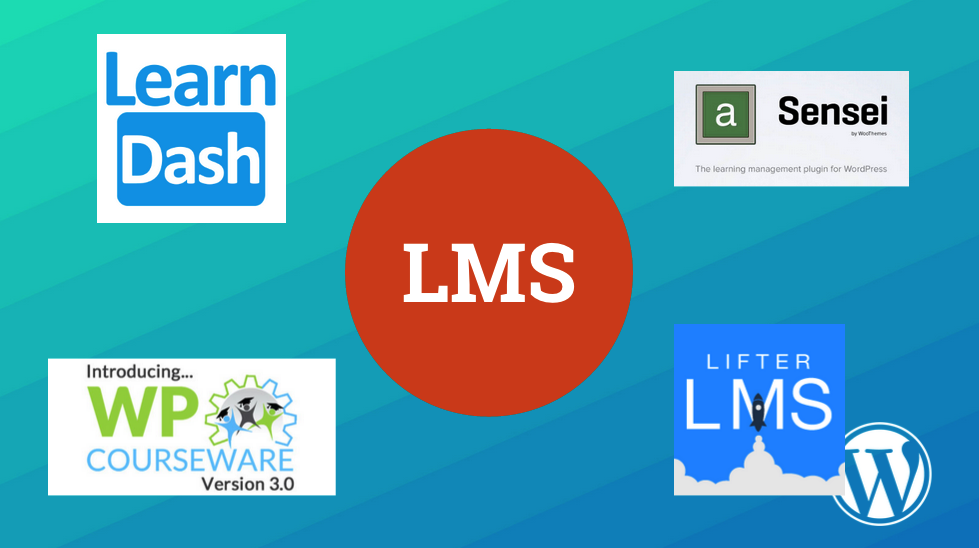
Full Fledged Learning Management Systems
- LePress (lacking documentation and screenshots)
- Educator
- Namaste! LMS
- CoursePress | PRO Version
- LearnDash (Premium)
- WooSensei (Premium)
- WP Courseware (Premium)
- LifterLMS (Premium)
Your Turn
- Have you ever built a WordPress LMS site? How was your experience? Any more recommendations?
- For first users, was my walkthrough helpful? Anything unclear?
Leave me a Comment below.


